When it comes to building a custom loop PC, choosing the right components is crucial to the overall performance and aesthetics of your system. The key components of a custom loop PC include the water block, pump, reservoir, radiator, tubing, fittings, and coolant. Each of these components plays a vital role in the cooling system and must be carefully selected to ensure compatibility and optimal performance.
The water block is responsible for transferring heat from the CPU or GPU to the coolant in the loop. It is essential to choose a water block that is compatible with your specific CPU or GPU socket and offers efficient heat transfer. The pump is the heart of the cooling system, circulating the coolant through the loop to dissipate heat. It is important to select a pump that provides sufficient flow rate and head pressure to accommodate your loop configuration.
The reservoir serves as a storage tank for the coolant and also helps bleed air from the system. When choosing a reservoir, consider factors such as size, mounting options, and integrated pump options. The radiator is responsible for dissipating heat from the coolant, and it comes in various sizes and thicknesses to accommodate different cooling needs. Selecting the right radiator size and thickness is crucial to achieving optimal cooling performance. Tubing and fittings are essential for connecting the various components of the loop, and it is important to choose high-quality materials that are compatible with your chosen coolant. Finally, selecting the right coolant is not only important for its cooling properties but also for its visual impact on the overall aesthetics of your custom loop PC.
In conclusion, choosing the right components for your custom loop PC is essential for achieving optimal performance and aesthetics. Careful consideration should be given to each component to ensure compatibility and functionality within your specific loop configuration.
Key Takeaways
- Understanding the Components: Choosing the Right Parts for Your Custom Loop PC
- Research and select high-quality components that are compatible with your custom loop PC build.
- Consider factors such as radiator size, pump flow rate, and tubing material when choosing parts for your custom loop PC.
- Planning Your Cooling System: Maximizing Performance and Aesthetics
- Create a detailed plan for your custom loop PC cooling system to ensure optimal performance and aesthetics.
- Balance the placement of components and tubing to achieve both efficient cooling and a visually appealing design.
- Building Your Custom Loop PC: Step-by-Step Guide to Assembly
- Follow a step-by-step guide to assemble your custom loop PC, ensuring proper installation and connection of all components.
- Take your time and pay attention to detail during the assembly process to avoid potential issues later on.
- Maintaining Your Custom Loop PC: Tips for Keeping Your Rig Running Smoothly
- Regularly clean and maintain your custom loop PC to prevent buildup of dust and debris that can affect performance.
- Monitor coolant levels and temperatures, and perform routine checks on all components to ensure smooth operation.
- Overclocking and Performance Tuning: Getting the Most out of Your Custom Loop PC
- Understand the principles of overclocking and performance tuning to maximize the capabilities of your custom loop PC.
- Use caution and follow best practices when overclocking to avoid damaging your components.
- Customizing Your Loop: Adding Personal Touches and Enhancements
- Explore options for customizing your loop with unique colors, lighting, and other personal touches to make your build stand out.
- Consider adding enhancements such as custom reservoirs or water blocks to further personalize your custom loop PC.
- Troubleshooting Common Issues: How to Address Problems with Your Custom Loop PC
- Familiarize yourself with common issues that can arise with custom loop PCs and learn how to troubleshoot and resolve them.
- Keep spare parts and tools on hand for quick fixes, and seek help from online communities or professionals if needed.
Planning Your Cooling System: Maximizing Performance and Aesthetics
Planning your custom loop PC cooling system is a crucial step in achieving both optimal performance and stunning aesthetics. When planning your cooling system, it is important to consider factors such as loop configuration, component placement, tubing routing, and coolant choice.
The first step in planning your cooling system is to determine the loop configuration that best suits your needs. There are several common loop configurations, including single loop, dual loop, and parallel loop configurations. Each configuration has its own advantages and disadvantages, so it is important to carefully consider your specific cooling needs and system requirements before making a decision.
Once you have determined the loop configuration, you can begin planning the placement of your components within your PC case. Consider factors such as component size, mounting options, and airflow when determining the best placement for your water block, pump, reservoir, radiator, and tubing.
Tubing routing is another important aspect of planning your cooling system. Carefully plan the routing of your tubing to ensure efficient coolant flow and a clean, visually appealing layout. Consider factors such as tubing length, bend radius, and fitting placement when planning your tubing routing.
Finally, choosing the right coolant is essential for achieving both optimal performance and stunning aesthetics. There are various coolant options available, including clear, colored, and UV-reactive coolants. Consider factors such as compatibility with your components, visual impact, and maintenance requirements when choosing the right coolant for your custom loop PC.
In conclusion, careful planning of your custom loop PC cooling system is essential for maximizing performance and achieving stunning aesthetics. Consider factors such as loop configuration, component placement, tubing routing, and coolant choice to ensure a successful build.
Building Your Custom Loop PC: Step-by-Step Guide to Assembly
Building a custom loop PC can be a rewarding experience that allows you to create a high-performance system with stunning aesthetics. However, it is important to approach the assembly process with care and attention to detail to ensure a successful build. Here is a step-by-step guide to assembling your custom loop PC:
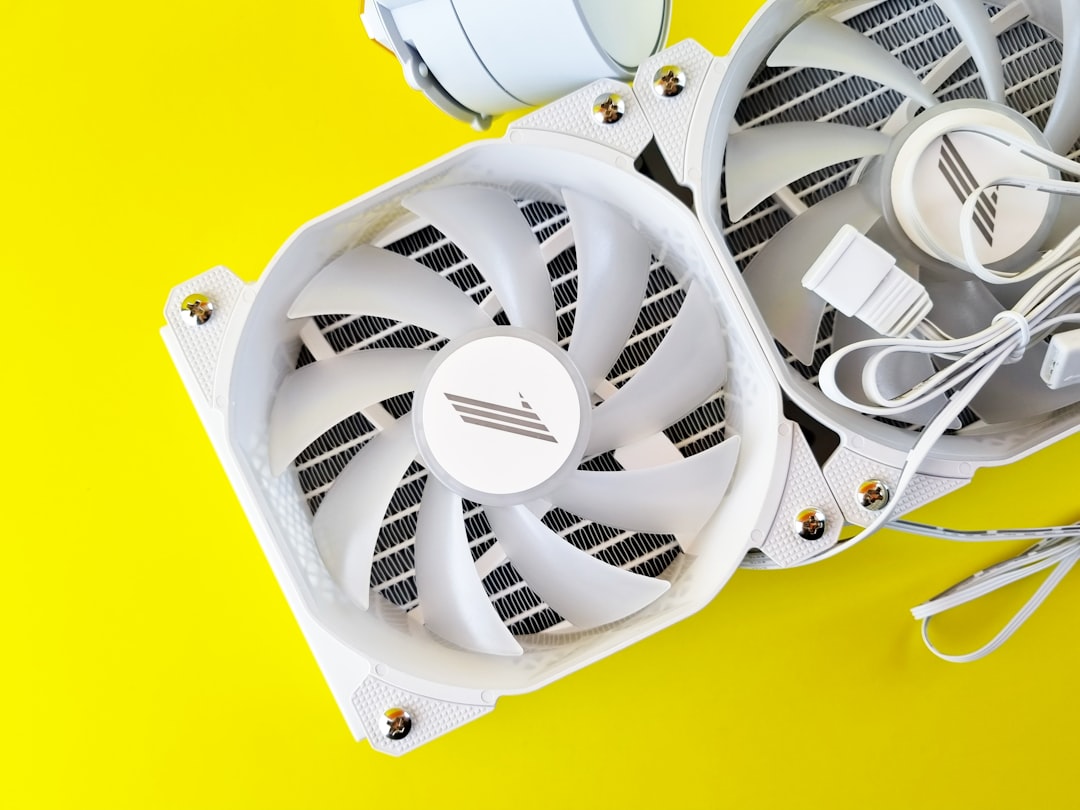
1. Prepare Your Components: Before you begin assembly, gather all of your components and ensure that you have everything you need for the build. This includes your water block, pump, reservoir, radiator, tubing, fittings, coolant, and any other necessary components.
2. Install Your Water Block: Begin by installing your water block onto your CPU or GPU according to the manufacturer’s instructions. Apply thermal paste as needed and ensure that the water block is securely mounted.
3. Mount Your Pump and Reservoir: Next, mount your pump and reservoir in a suitable location within your PC case. Ensure that they are securely mounted and that the pump is properly oriented for optimal coolant flow.
4. Install Your Radiator: Mount your radiator in a suitable location within your PC case, taking care to ensure proper airflow and clearance for fans. Securely mount the radiator using appropriate screws or mounting brackets.
5. Connect Your Components with Tubing and Fittings: Begin connecting your components with tubing and fittings according to your planned routing. Take care to ensure secure connections and proper tubing length and bend radius.
6. Fill Your Loop with Coolant: Once all of your components are connected, carefully fill your loop with coolant and bleed any air from the system. Take care to avoid spills and leaks during this process.
7. Test Your System: After filling your loop with coolant, test your system to ensure that everything is functioning properly. Check for leaks, monitor temperatures, and ensure that coolant flow is adequate.
In conclusion, assembling a custom loop PC requires careful attention to detail and a methodical approach to ensure a successful build. By following this step-by-step guide, you can create a high-performance system with stunning aesthetics.
Maintaining Your Custom Loop PC: Tips for Keeping Your Rig Running Smoothly
| Tip | Description |
|---|---|
| Clean your components regularly | Remove dust and debris to prevent overheating and maintain optimal performance. |
| Monitor temperatures | Use software to keep an eye on CPU and GPU temperatures to prevent overheating. |
| Check for leaks | Regularly inspect your custom loop for any signs of leaks to prevent damage to your components. |
| Use high-quality coolant | Invest in a reliable coolant to prevent corrosion and maintain the efficiency of your custom loop. |
| Perform regular maintenance | Flush and refill your custom loop at least once a year to keep it running smoothly. |
Once you have assembled your custom loop PC, it is important to implement a regular maintenance routine to keep your rig running smoothly. Proper maintenance will help prevent issues such as corrosion, algae growth, and component failure while also ensuring optimal cooling performance. Here are some tips for maintaining your custom loop PC:
1. Regularly Check for Leaks: It is important to regularly inspect your custom loop PC for any signs of leaks or drips. Check all tubing connections, fittings, and components for any signs of moisture or coolant leakage.
2. Monitor Coolant Levels: Regularly monitor the coolant levels in your reservoir and top off as needed to maintain proper coolant flow and heat dissipation.
3. Clean Your Components: Over time, dust and debris can accumulate on your components and within your loop. Regularly clean your components with compressed air or a soft brush to prevent airflow restriction and maintain optimal cooling performance.
4. Flush Your Loop: Periodically flush your loop with distilled water to remove any buildup of debris or contaminants that may affect cooling performance.
5. Replace Coolant: Depending on the type of coolant you are using, it may be necessary to replace it periodically to prevent issues such as algae growth or corrosion.
6. Monitor Temperatures: Regularly monitor temperatures within your custom loop PC to ensure that cooling performance remains optimal. Adjust fan speeds or other cooling settings as needed to maintain proper temperatures.
In conclusion, implementing a regular maintenance routine is essential for keeping your custom loop PC running smoothly. By regularly checking for leaks, monitoring coolant levels, cleaning components, flushing your loop, replacing coolant as needed, and monitoring temperatures, you can prevent issues and ensure optimal cooling performance.
Overclocking and Performance Tuning: Getting the Most out of Your Custom Loop PC
One of the key benefits of a custom loop PC is its ability to provide superior cooling performance, allowing for overclocking and performance tuning to maximize system capabilities. Overclocking involves running computer hardware at higher speeds than originally intended by the manufacturer in order to achieve increased performance. Here are some tips for getting the most out of your custom loop PC through overclocking and performance tuning:
1. Understand Your Hardware: Before attempting any overclocking or performance tuning, it is important to have a thorough understanding of your hardware’s capabilities and limitations. Research the specific CPU or GPU you are using to determine safe operating parameters for overclocking.
2. Monitor Temperatures: When overclocking your system, it is crucial to monitor temperatures closely to ensure that cooling performance remains adequate. Use monitoring software to keep an eye on temperatures during stress testing and adjust cooling settings as needed.
3. Gradually Increase Clock Speeds: When overclocking your CPU or GPU, it is best to start with small increments in clock speeds and gradually increase them while monitoring stability and temperatures.
4. Stress Test Your System: After making adjustments to clock speeds or voltages, it is important to stress test your system using software such as Prime95 or FurMark to ensure stability under load.
5. Adjust Cooling Settings: As you push your hardware further with overclocking, you may need to adjust fan speeds or other cooling settings to maintain adequate cooling performance.
6. Be Mindful of Voltage: When overclocking, be mindful of voltage increases as they can significantly impact temperatures and stability. It is important to find a balance between increased voltage for stability and excessive heat generation.
In conclusion, overclocking and performance tuning can allow you to get the most out of your custom loop PC by pushing hardware beyond stock specifications for increased performance. By understanding your hardware’s capabilities, monitoring temperatures closely, gradually increasing clock speeds, stress testing your system, adjusting cooling settings as needed, and being mindful of voltage increases, you can safely achieve higher levels of performance from your custom loop PC.
Customizing Your Loop: Adding Personal Touches and Enhancements
Customizing your loop allows you to add personal touches and enhancements that can take your custom loop PC from functional to truly unique and visually stunning. There are various ways to customize your loop, including adding RGB lighting, custom sleeved cables, cable combs, custom coolant additives, and more.
RGB lighting can be added to various components within your custom loop PC to create stunning visual effects that can be synchronized with other RGB-enabled components in your system. This can add a dynamic visual element that enhances the overall aesthetics of your build.
Custom sleeved cables are another popular way to customize your loop by adding color-coordinated cables that match your overall build theme. Cable combs can be used to neatly organize cables within your system for a clean and professional look.
Custom coolant additives such as dyes or additives can be used to create unique colors or effects within your cooling loop. These additives can be used to match a specific color scheme or create eye-catching visual effects within your reservoir or tubing.
In addition to these enhancements, there are various other ways to customize your loop such as adding custom decals or logos on components or using custom water blocks with unique designs or finishes.
In conclusion, customizing your loop allows you to add personal touches and enhancements that can take your custom loop PC from functional to truly unique and visually stunning. Whether it’s adding RGB lighting, custom sleeved cables, cable combs, custom coolant additives, or other enhancements such as decals or custom water blocks, there are various ways to make your build stand out.
Troubleshooting Common Issues: How to Address Problems with Your Custom Loop PC
While building a custom loop PC can be an exciting endeavor, it’s not uncommon to encounter issues along the way that require troubleshooting in order to address them effectively. Here are some common issues that may arise when building a custom loop PC and how to address them:
1. Leaks: Leaks are one of the most common issues encountered when building a custom loop PIf you notice any signs of moisture or coolant leakage within your system, immediately power off your PC and identify the source of the leak. Tighten any loose fittings or connections as needed and replace any damaged components if necessary.
2. Air Bubbles: Air bubbles within your loop can cause issues such as reduced coolant flow or noise from the pump. To address air bubbles, tilt or shake your case gently to encourage them to rise into the reservoir where they can be bled from the system.
3. High Temperatures: If you notice higher than normal temperatures within your custom loop PC, check for issues such as restricted airflow due to dust buildup or improper fan operation. Clean components as needed and adjust fan speeds or other cooling settings if necessary.
4. Pump Failure: If you experience pump failure within your custom loop PC, immediately power off your system to prevent damage from overheating. Check for any signs of blockage or obstruction within the pump or reservoir and replace any damaged components if necessary.
5. Coolant Issues: Issues such as algae growth or corrosion within your cooling loop can be addressed by flushing the system with distilled water and replacing the coolant with fresh fluid as needed.
In conclusion, troubleshooting common issues that may arise when building a custom loop PC requires careful attention to detail and a methodical approach in order to address them effectively. By addressing issues such as leaks, air bubbles, high temperatures, pump failure, or coolant issues promptly and effectively, you can keep your custom loop PC running smoothly.
It is important to regularly check for any signs of leaks or air bubbles, as these can cause damage to the components of the custom loop PC. Additionally, monitoring the temperatures and ensuring that the pump is functioning properly can help prevent any potential issues. Lastly, using high-quality coolant and maintaining it regularly can also contribute to the overall performance and longevity of the custom loop PC. By staying vigilant and addressing any issues as they arise, you can ensure that your custom loop PC continues to operate at its best.
If you’re interested in building a custom loop PC, you might also want to check out this article on Appanino about the best water cooling kits for PC gaming. Appanino offers a comprehensive guide to help you choose the right water cooling kit for your custom loop PC, ensuring optimal performance and temperature control for your gaming rig.
FAQs
What is a custom loop PC?
A custom loop PC is a computer system that uses a custom-designed cooling system, typically consisting of water blocks, radiators, pumps, and tubing, to cool the components of the computer, such as the CPU and GPU.
Why would someone choose a custom loop PC over air or all-in-one liquid cooling?
Custom loop PCs offer superior cooling performance compared to air or all-in-one liquid cooling solutions. They also allow for more customization and aesthetic options, as well as the potential for quieter operation.
What components are typically included in a custom loop PC cooling system?
A custom loop PC cooling system typically includes water blocks for the CPU and GPU, a pump, a reservoir, radiators, fans, and tubing. Some systems may also include additional components such as a coolant, fittings, and a drain valve.
Is building a custom loop PC difficult?
Building a custom loop PC can be more complex and time-consuming compared to installing an air or all-in-one liquid cooling solution. It requires careful planning, knowledge of PC components, and some experience with PC building and maintenance.
What are the benefits of a custom loop PC?
The benefits of a custom loop PC include improved cooling performance, potential for quieter operation, customization options for aesthetics, and the ability to overclock components for higher performance.
Are there any drawbacks to using a custom loop PC?
Drawbacks of a custom loop PC include the higher cost compared to air or all-in-one liquid cooling solutions, the potential for leaks if not properly maintained, and the need for regular maintenance and monitoring of the cooling system.